King Ranch Chicken Casserole reminds me of the kind of dish you carry to the table with both hands. You can feel the weight of it. You can smell the creamy sauce before it leaves the oven.
I first made it for a friend who was too tired to cook but wanted something that felt like home. That night, I changed the way I saw casseroles. They are not lazy food. They are thoughtful.
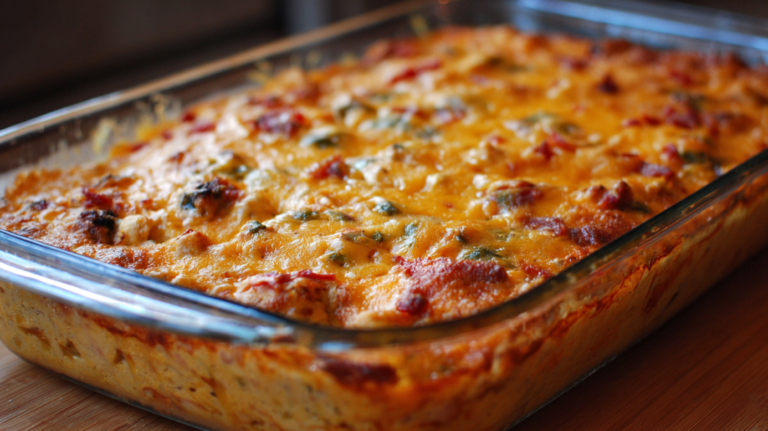
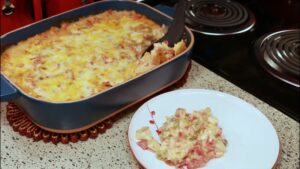
This is my version of King Ranch Chicken Casserole, crafted with fresh ingredients, made from scratch, and cooked in the same deep dish I use for every special family meal.
How I Fell in Love with King Ranch Casserole
I never grew up with casseroles. In our home, everything had to be made fresh. No shortcuts. But once I started making meals for tired parents, sick friends, or Sunday guests, I saw the need. This dish can be prepared in advance, frozen, and served to many, and still taste good the next day.
I tried the usual method at first—cans, bags, cartons. It worked, but it did not taste right. I changed it all. I wrote down what worked, scratched out what didn’t, and created a version that holds together with authentic sauce, real spice, and layers that stay firm even after three days in the fridge.
I followed the same principle I use when cooking authentic Texas-style chili—no shortcuts, no beans, just depth and structure in every bite.
King Ranch Chicken Casserole
Ingredients
Equipment
Method
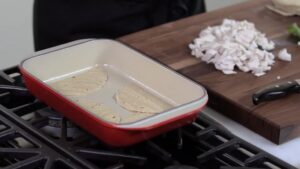
- Preheat & PrepPreheat your oven to 350°F (175°C). Grease a 9x13-inch baking dish.Tear corn tortillas into quarters and set aside.
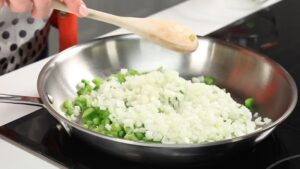
- Cook the VeggiesHeat olive oil in a skillet over medium heat. Sauté chopped onion and bell peppers for about 5 minutes until soft. Add minced garlic and cook for 30 seconds more.
- Mix the FillingIn a large bowl, combine the cooked vegetables with shredded chicken, both soups, diced tomatoes with green chiles, chili powder, cumin, salt, and pepper.

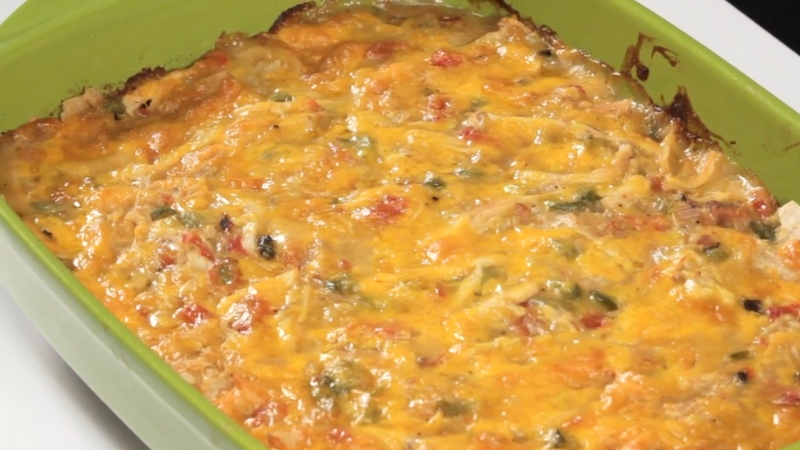
- Layer the CasseroleSpread a thin layer of the chicken mixture in the baking dish. Add a layer of tortilla pieces, then more chicken mixture and cheese. Repeat layers, finishing with cheese on top.

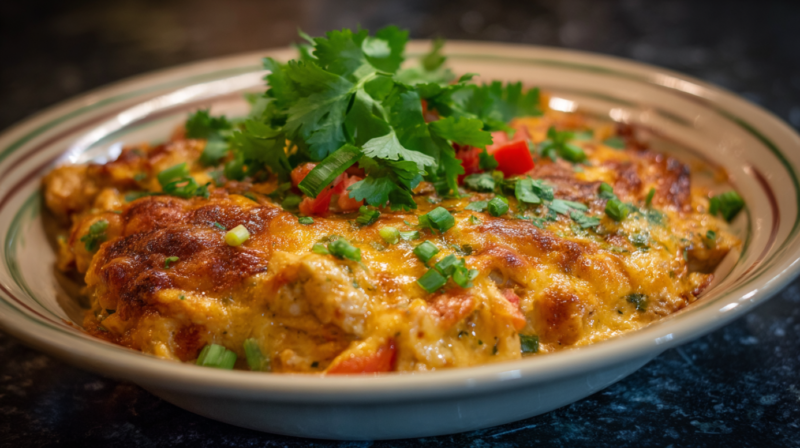
- Bake & ServeCover with foil and bake for 30 minutes. Uncover and bake for another 10–15 minutes until bubbly and golden. Let it rest for 10 minutes before serving. Garnish if desired.
Video
Notes
Cooking Tips
- Layer wisely: Keep the sauce-to-filling ratio even to prevent soggy bottoms.
- Cheese in layers: Add cheese between layers, not just on top, for gooey goodness throughout.
- Want crunch? Add crushed tortilla chips just before serving.
- Add-ins: Sweet corn, black beans, or roasted poblanos offer great texture and flavor variations.
- Prep ahead: Assemble and refrigerate up to 24 hours before baking.
Little Details That Make It Better Every Time
Never overload the sauce. It should coat the chicken, not drown it. I mix the cheese between layers, not just on top. That way, every bite gets melted and stretched.
Always let it rest before slicing. Serve with a cold green salad and lime wedges. If I want crunch, I crush tortilla chips on top right before serving. If I wish to calm, I serve it as-is, hot and quiet.
My Favorite Times to Serve It
View this post on Instagram
I make this weeknight chicken casserole when the fridge feels empty, but I know there is leftover chicken. I make it when someone has had a hard week.
I bring it to Sunday meals with iced tea and cornbread. It travels well. It holds up after freezing. It tastes better the next day if you hide a slice in the back of the fridge.
Ways I Bend the Recipe Without Breaking It
You can bend this recipe to your pantry. I have done that many times. When I needed something faster, I used rotisserie chicken.
When I wanted more heat, I swapped bell peppers for roasted poblanos. When I cooked for kids, I kept it mild. When I cooked for my sister, I added sour cream to the sauce and sprinkled sweet corn over the top.
Change
What to Do
Why It Works
Use corn tortillas
Toast first to avoid sogginess
Brings a more substantial chew and flavor
Add black beans
Mix with the chicken
Adds fiber and stretch
Swap cheddar for mozzarella
Less sharp, more stretch
Makes it creamier
Skip flour, use cornstarch
Stir into the broth directly
Gluten-free option
Add lime zest
Into the sauce
Brightens the flavor
Cost Breakdown from My Local Market in 2025
Most ingredients can be found in a regular grocery store. You do not need specialty shops. Below is the breakdown of my expenses in 2025, using market prices.
Item
Quantity
Total (EUR)
Cost Per Serving
Chicken thighs
600g
4.20
0.70
Onion + pepper
300g
1.40
0.23
Cheese
300g
3.50
0.58
Tortillas
8 pieces
1.80
0.30
Milk, flour, broth
Combined
1.00
0.17
Tomatoes with chilies
1 can
1.20
0.20
Total
Feeds 6
13.10
2.18
How I Store Leftovers So They Stay Perfect
@pepperbellypete King Ranch Chicken Casserole ! #tiktokcooks #texmex #texas #tiktokfood #easyrecipe #chicken #learnontiktok #receta #farmlife #foryoupage #fyp #fypシ ♬ original sound – Pepper Belly Pete
If I plan, I make it a day early and store it unbaked in the fridge. I cover it tightly with foil and keep it on the middle shelf so it chills evenly. That way, when I am ready to bake, all I need is a hot oven and a timer.
If I bake it all on the first day, I slice the leftovers into neat squares once it cools. I stack them in airtight glass containers with parchment between layers to keep the top from getting soggy.
When I reheat, I always use a toaster oven or a regular oven. That keeps the cheese golden and the tortillas crisp around the edges. Microwave softens the layers and pulls moisture into the crust. I avoid that unless I am in a rush.
If I freeze it, I wrap the whole dish tightly in foil, then in plastic, and label it with the date. Before baking, I let it thaw overnight in the fridge so the center cooks evenly. I always add a bit of fresh cheese on top before reheating to bring back that golden finish.
Storage Method
How to Store
Shelf Life
Reheating Method
Result
Unbaked (fridge)
Covered with foil, middle shelf
2 days
Bake at 190°C for 40 mins
Fresh, just-made texture
Baked (fridge)
Sliced in airtight glass containers
4 days
Oven at 180°C for 20 mins
Holds structure, crispy top
Baked (freezer)
Wrapped in foil and plastic
2 months
Then bake at 190°C
Slightly softer base
Individual slices
Wrapped in parchment inside a sealed box
3 days
Toaster oven at 180°C
Fast, crispy edge, no sogginess
Microwave (last resort)
Covered with a paper towel
Immediate use only
1–2 minutes on medium
Soft, fast, but less crisp
I learned to always label the dish before freezing. A faded square in foil looks like anything after two weeks.
I always include bake time and oven temperature on the label so no one has to guess. That simple step saves time when life feels too full to measure again.